10 Landscaping Project Ideas Utilizing Equipment Rentals from Easy Rent All

10 Landscaping Project Ideas Utilizing Equipment Rentals from Easy Rent All
Landscaping is more than just mowing the lawn or planting flowers; it's about creating a space that enhances your property and brings you joy every time you step outside. However, many people are deterred by the potential cost of buying heavy equipment for their landscaping projects. That's where Easy Rent All comes in, Maine's equipment rental headquarters. With their diverse range of rental equipment, you can take on any landscaping project with ease. Here are ten ideas to inspire you:
- Creating a Garden Path: Steps and Equipment Rentals
- Installing a Pond: Steps and Equipment Rentals
- Building a Patio: Steps and Equipment Rentals
- Constructing a Retaining Wall: Steps and Equipment Rentals
- Planting a Tree: Steps and Equipment Rentals
- Installing a Sprinkler System: Steps and Equipment Rentals
- Building a Rock Garden: Steps and Equipment Rentals
- Building a Fire Pit: Steps and Equipment Rentals
- Installing a Fence: Steps and Equipment Rentals
- Creating a Vegetable Garden: Steps and Equipment Rentals
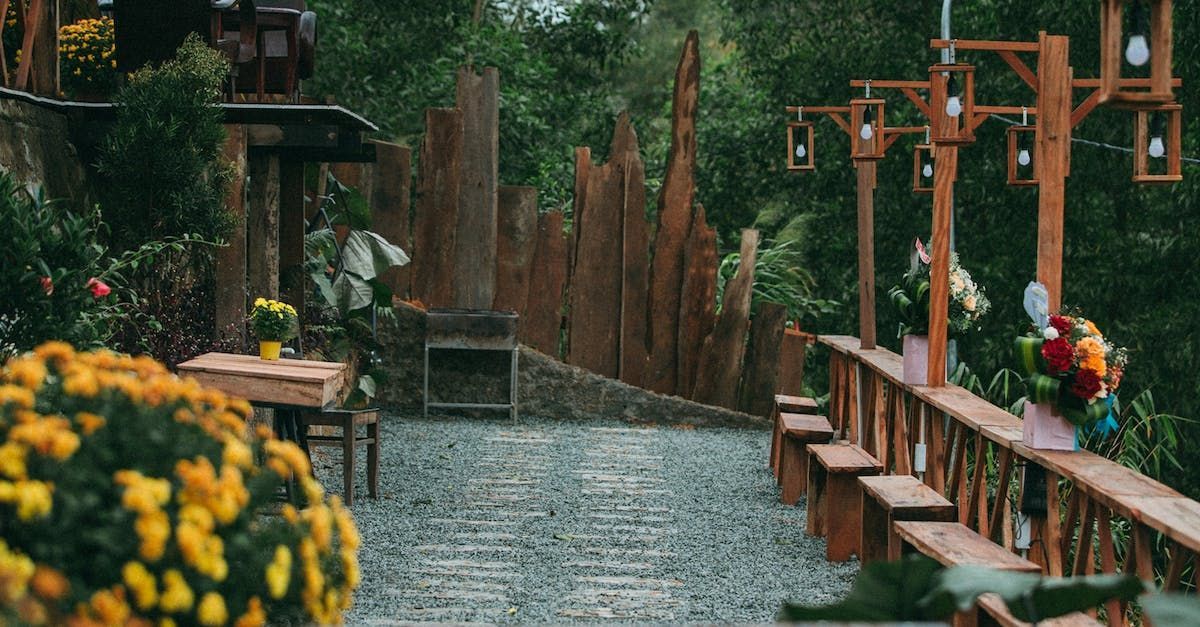
Creating a Garden Path: Steps and Equipment Rentals
Creating a garden path is a great way to add structure and charm to your landscape. Here’s a step-by-step guide:
Step 1: Plan Your Path
First, decide where you want your path to lead. Is it a direct route to a frequently visited area, like a shed or a patio? Or is it a meandering path through your garden? Once you've decided the route, mark it out with marking paint.
Step 2: Choose Your Materials
Choose the materials for your path. The choice depends on the look you're going for. Gravel, pebbles, bricks, flagstones, and wooden planks are all good options. Remember to consider the practicality of the material as well. For example, flat stones are better for areas with heavy traffic or wheelchair access.
Step 3: Excavate the Path
Rent a mini excavator like the Kubota K008-3 from Easy Rent All to dig out your path. The depth will depend on the type of path you're installing. For a gravel path, you'll want to dig about 5 inches deep. If you're laying stepping stones, the depth will depend on the thickness of your stones.
Step 4: Install Edging (Optional)
Edging can give your path a neat finish and help keep your path materials in place. There are many edging options available, such as metal, plastic, brick, or stone. Install your chosen edging along both sides of the path.
Step 5: Lay the Foundation
Before adding your main path material, lay down a layer of crushed stone or sand. This will provide a solid base for your path and aid in drainage.
Step 6: Add Your Path Material
Now you're ready to add your main path material. If you're using gravel or pebbles, simply pour them onto the path and rake them smooth. If you're using stepping stones, place them at an even distance apart that's comfortable for walking. If you're using bricks or pavers, you'll need to fit them together closely.
Step 7: Compact the Path
Finally, compact the path using a rented plate compactor. This will make the path stable and ensure the materials stay in place. If you've installed a gravel path, consider adding a stabilizer product to prevent the gravel from shifting.
With these steps, you'll have a beautiful garden path that not only enhances the look of your landscape but also serves a practical purpose. Remember, the key to a successful landscaping project lies in careful planning and preparation. Happy gardening!
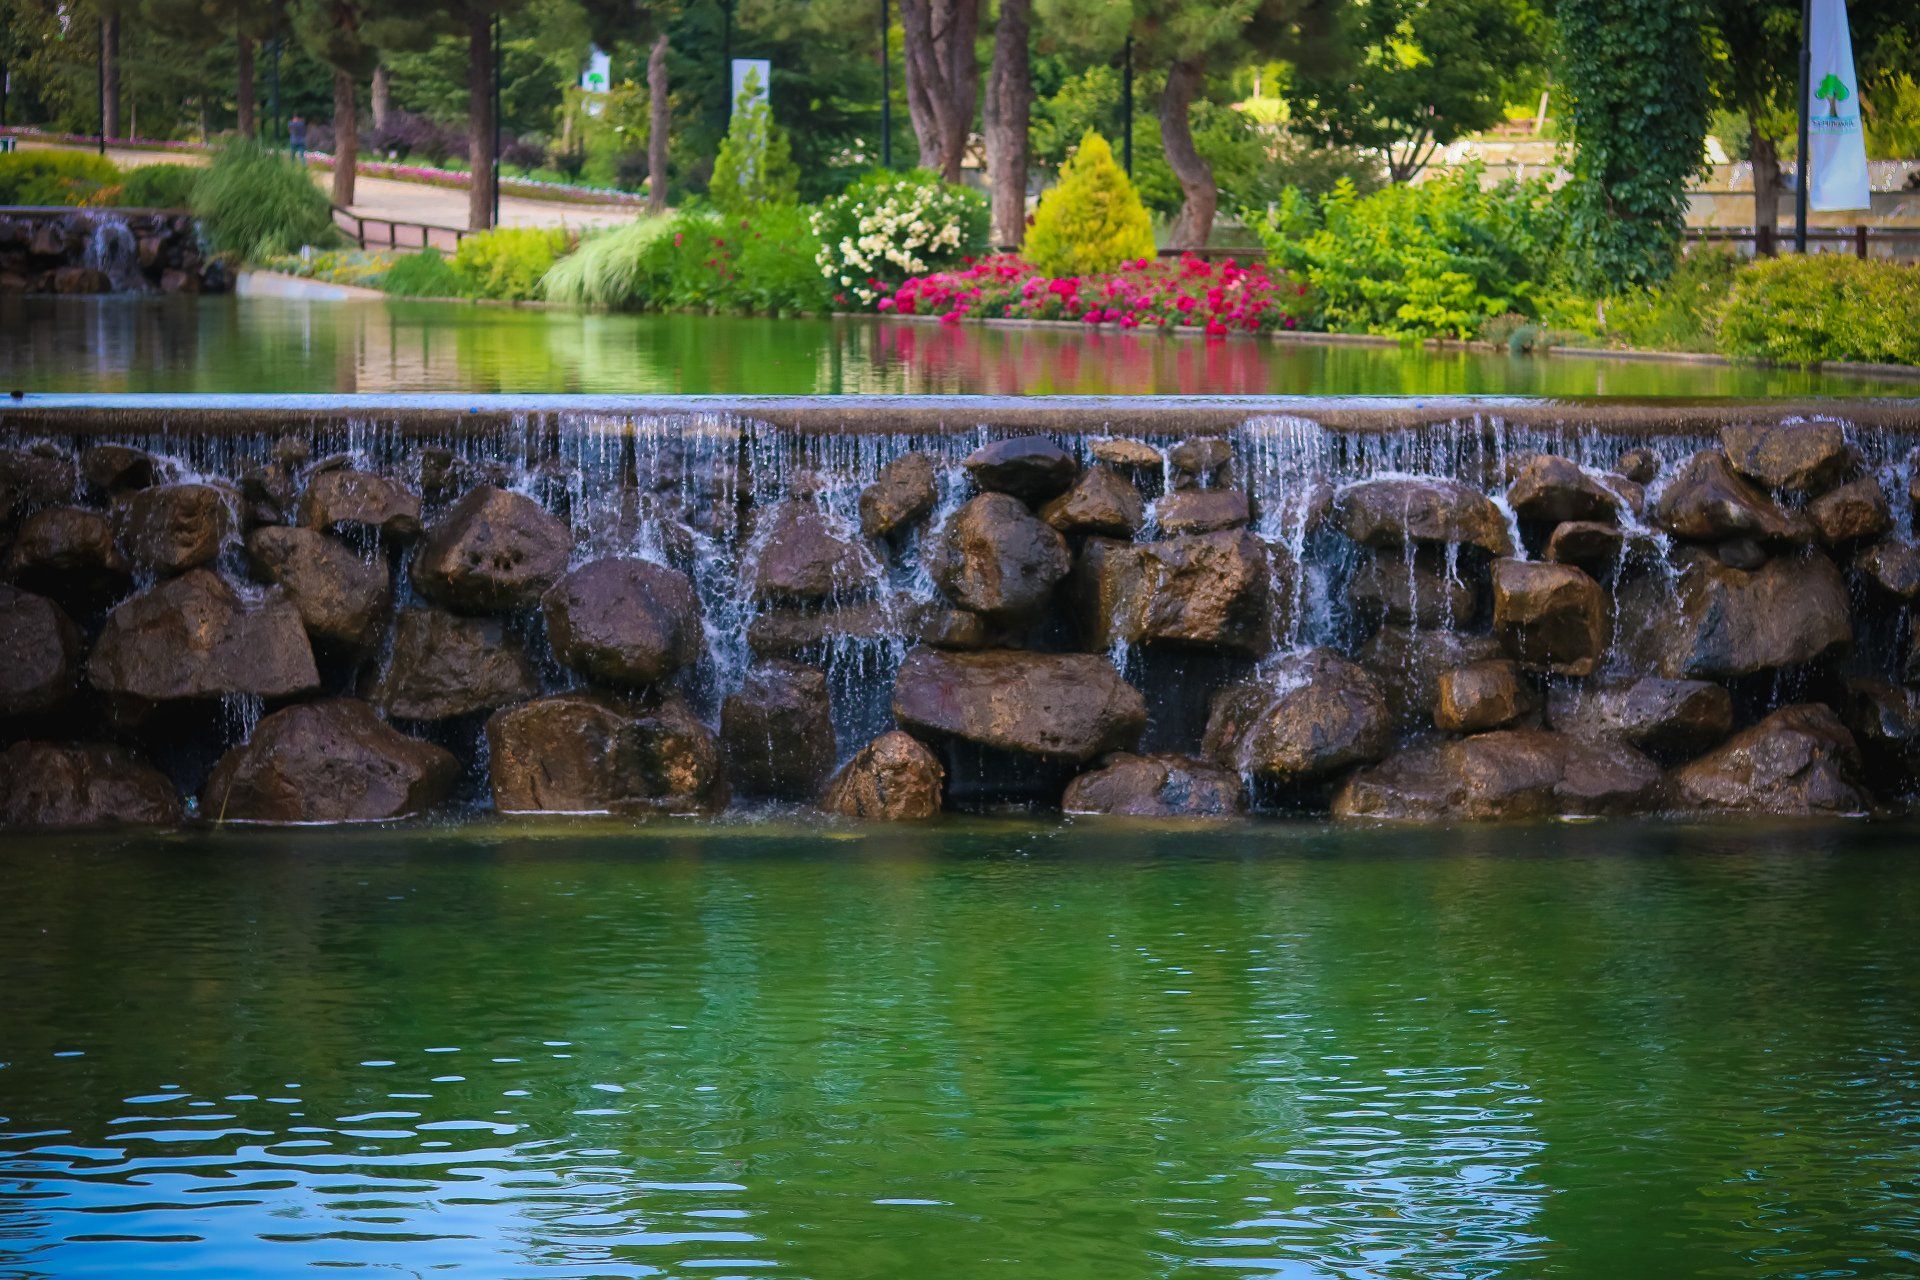
Installing a Pond: Steps and Equipment Rentals
A well-placed and beautifully designed pond can turn your backyard into a tranquil oasis. Below is a detailed, step-by-step guide on how to install a pond:
Step 1: Planning Your Pond
The first step in installing a pond is deciding on its location, size, and shape. Consider factors like sunlight exposure, proximity to trees (which can drop leaves into the pond), and how the pond will integrate with the rest of your landscape. Use a rope or hose to outline the shape of your pond on the ground.
Step 2: Excavating the Pond
Once you've marked out your pond, it's time to start digging. Renting a mini excavator or a skid steer loader from Easy Rent All can make this job much easier. Dig the hole to your desired depth, keeping in mind that if you plan to add fish, the pond needs to be at least 3 feet deep in some areas to protect them during winter.
Step 3: Installing the Pond Liner
After your hole is dug, it's time to install the pond liner. This is what will keep the water in your pond. First, line the hole with protective underlay to prevent damage to the liner. Then, lay the pond liner in the hole, making sure it covers the entire area and overlaps onto the surrounding ground.
Step 4: Filling Your Pond
Start adding water to your pond, adjusting the liner as necessary to fit the contours of the hole. Once your pond is filled, you can trim any excess liner, leaving enough to secure around the edge of the pond.
Step 5: Adding a Filter and Pump
If you're planning to add fish or plants to your pond, you'll need a filter and pump system to keep the water clean and oxygenated. These should be installed according to the manufacturer's instructions.
Step 6: Landscaping Around Your Pond
Now that your pond is installed, you can start landscaping around it. This could involve adding a border of rocks or pebbles, planting aquatic plants in and around the pond, and even installing a waterfall or fountain for extra appeal.
Step 7: Introducing Fish and Plants
Once your pond setup is complete and the water has been treated appropriately, you can introduce fish and plants. Make sure to choose species that are suitable for your climate and the size of your pond.
Remember, installing a pond is a significant project that requires careful planning and execution. But with the right equipment and a bit of patience, you can create a beautiful water feature that enhances your outdoor space and provides a habitat for a variety of wildlife.
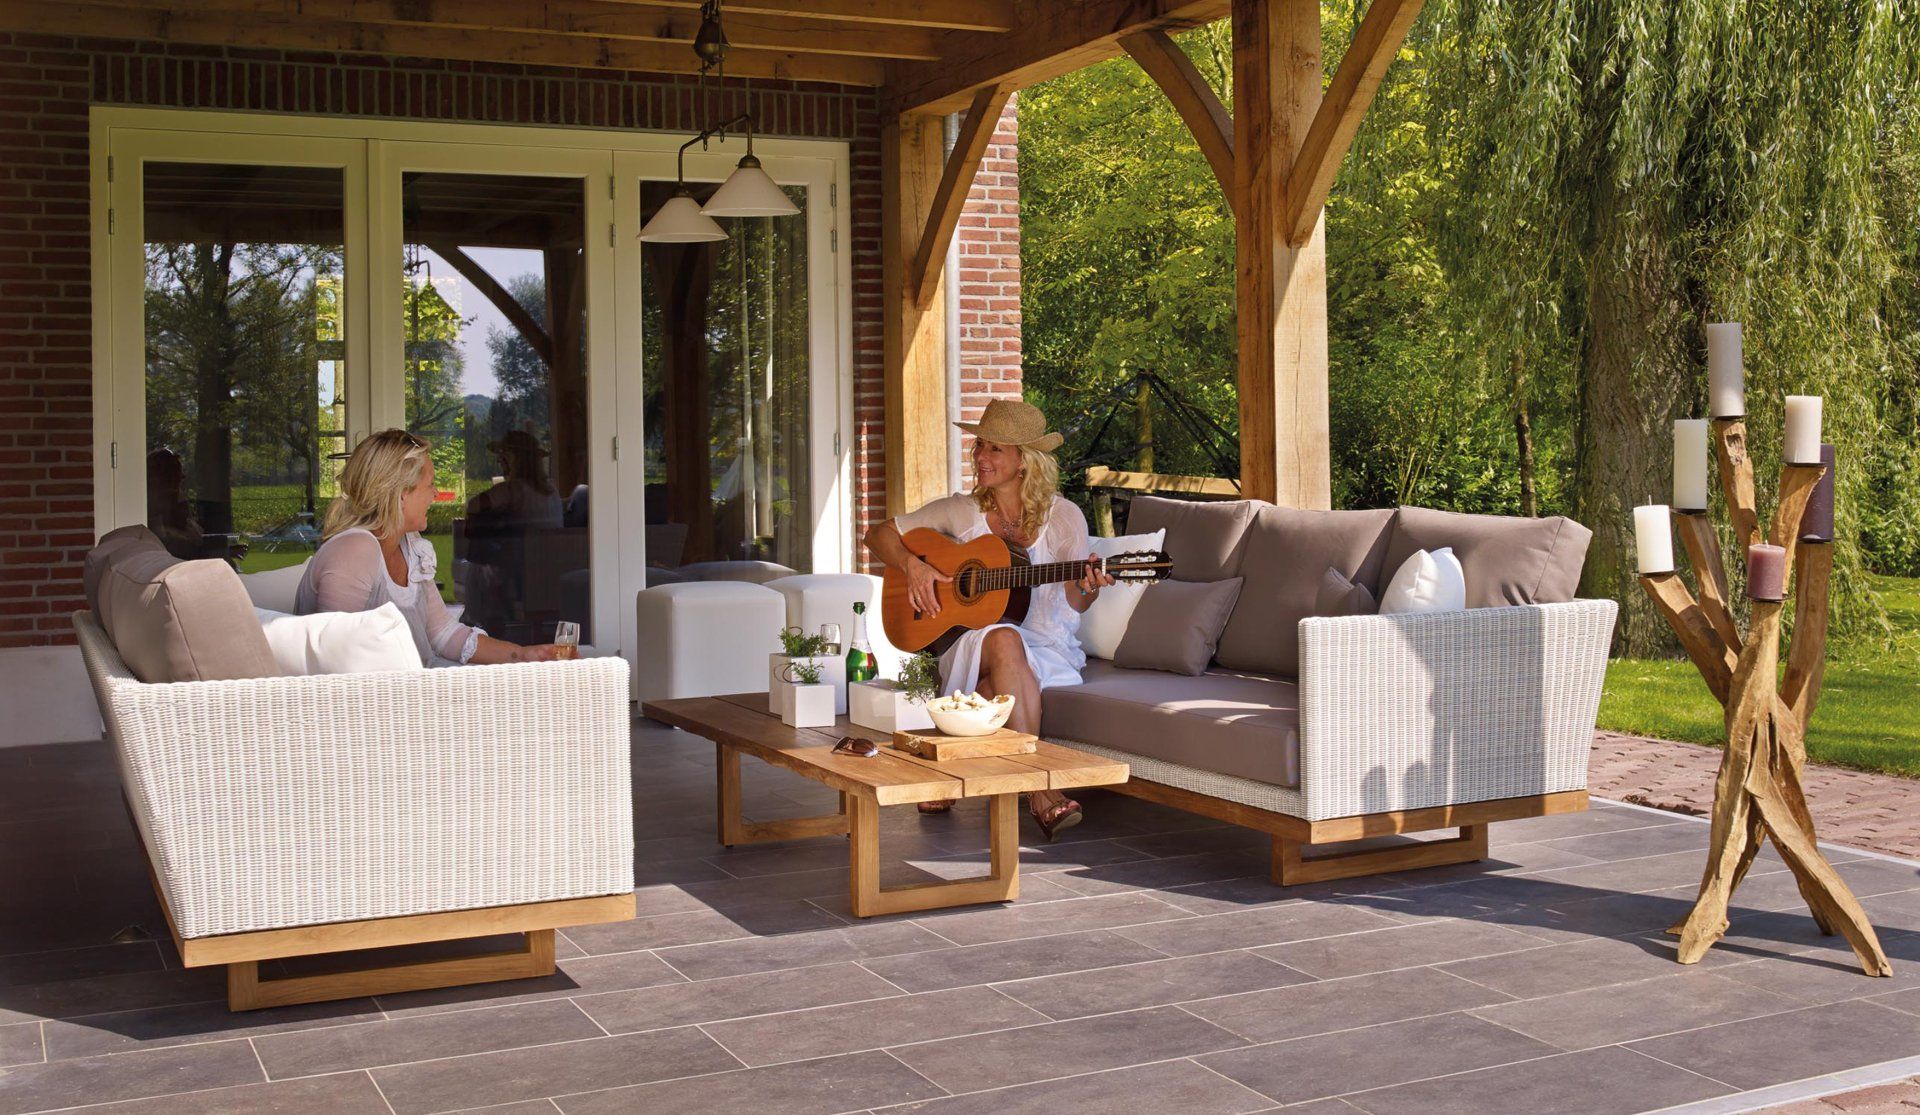
Building a Patio: Steps and Equipment Rentals
A well-built patio can serve as an outdoor extension of your living space, providing the perfect spot for dining, entertaining, or just relaxing. Here is a step-by-step guide on how to build one:
Step 1: Plan Your Patio
Decide on the size, shape, and location of your patio. Consider how the sun hits your yard, the proximity to your house, and the views from different spots. Once you've chosen the location, mark out the area using stakes and string.
Step 2: Excavate the Area
Rent a mini excavator from Easy Rent All to dig out the marked area. You should aim to dig to a depth of about 7 inches to allow room for the base and pavers.
Step 3: Install Edging
Installing edging around the perimeter of your patio will help keep your pavers in place. You can use plastic, metal, or brick edging, depending on your preference.
Step 4: Create a Solid Base
Before laying your pavers, it's crucial to create a solid base. Use a rented
plate compactor like the
Multiquip MVC82VHW,
Multiquip MVC90H,
Multiquip MVB85H or the
Wacker Neuson BPU4045
to compact the ground, then add a layer of crushed stone about 4 inches deep over the entire patio area. Compact this layer as well.
Step 5: Lay a Sand Bed
After compacting the crushed stone, spread a layer of fine sand about 1 inch deep over the patio area. This will help you level your pavers and fill in any gaps.
Step 6: Lay Your Pavers
Starting from one corner, lay your pavers onto the sand bed. Use a rubber mallet to tap them into place. Ensure they are level with each other by setting a level on top. For any cutting of pavers to fit your design, you can rent a wet saw.
Step 7: Fill in the Gaps
Once all your pavers are laid, spread more sand over the top and use a broom to sweep it into the gaps between the pavers. This will help lock them in place.
Step 8: Seal the Patio
Finally, consider sealing your patio with a suitable paving sealer. This will help protect it from weather damage, stains, and fading.
Building a patio is a significant project, but with careful planning and the right tools, it's certainly achievable. And the end result – a beautiful, functional outdoor space – is well worth the effort.

Constructing a Retaining Wall: Steps and Equipment Rentals
A retaining wall is a practical and aesthetically pleasing addition to any landscape, especially those with slopes or uneven terrain. Here's a detailed guide:
Step 1: Design Your Wall
Start by deciding where you want your wall, its height, and its length. The design will depend on the slope and the amount of soil it needs to retain. You can choose from various materials like concrete blocks, stones, or wood. Mark out your wall with stakes and strings.
Step 2: Prepare the Ground
Use a rented mini excavator like the Hyundai R35Z-9A, Kubota KX033-4, Hitachi ZX60-5, Kubota KX71-3, or the Kubota K008-3 from Easy Rent All to dig a trench along the line you've marked for your wall. The depth of the trench should be about 1/4th of the height of your wall but could be more depending on the wall's height and the type of soil.
Step 3: Lay the Foundation
Pour a layer of gravel into the trench and compact it using a hand tamper or a plate compactor for larger walls. This will create a solid base for your wall.
Step 4: Start Building Your Wall
Lay the first course of stones or blocks in the trench. Use a level to make sure they're even. If you're using interlocking concrete blocks, they should fit together easily.
Step 5: Add Successive Layers
Continue building your wall by adding more layers of blocks or stones, checking each layer with a level. Offset each layer from the one below it (this is called 'backfill') for stability. Fill any gaps between the blocks with gravel.
Step 6: Install Drainage
It's essential to provide a way for water to escape from behind the wall to prevent water pressure from building up and causing damage. Install a perforated drain pipe along the bottom of the wall, behind the first layer of blocks. Cover the pipe and fill the rest of the space behind the wall with gravel.
Step 7: Finish the Wall
Once your wall has reached the desired height, finish it off with a final layer of capstones. These give your wall a polished look and protect it from weather damage.
Remember, building a retaining wall is a significant project, especially if the wall is over four feet tall. In many areas, walls over a certain height require a permit and must be built under the guidance of an engineer. Always check local regulations before starting your project.
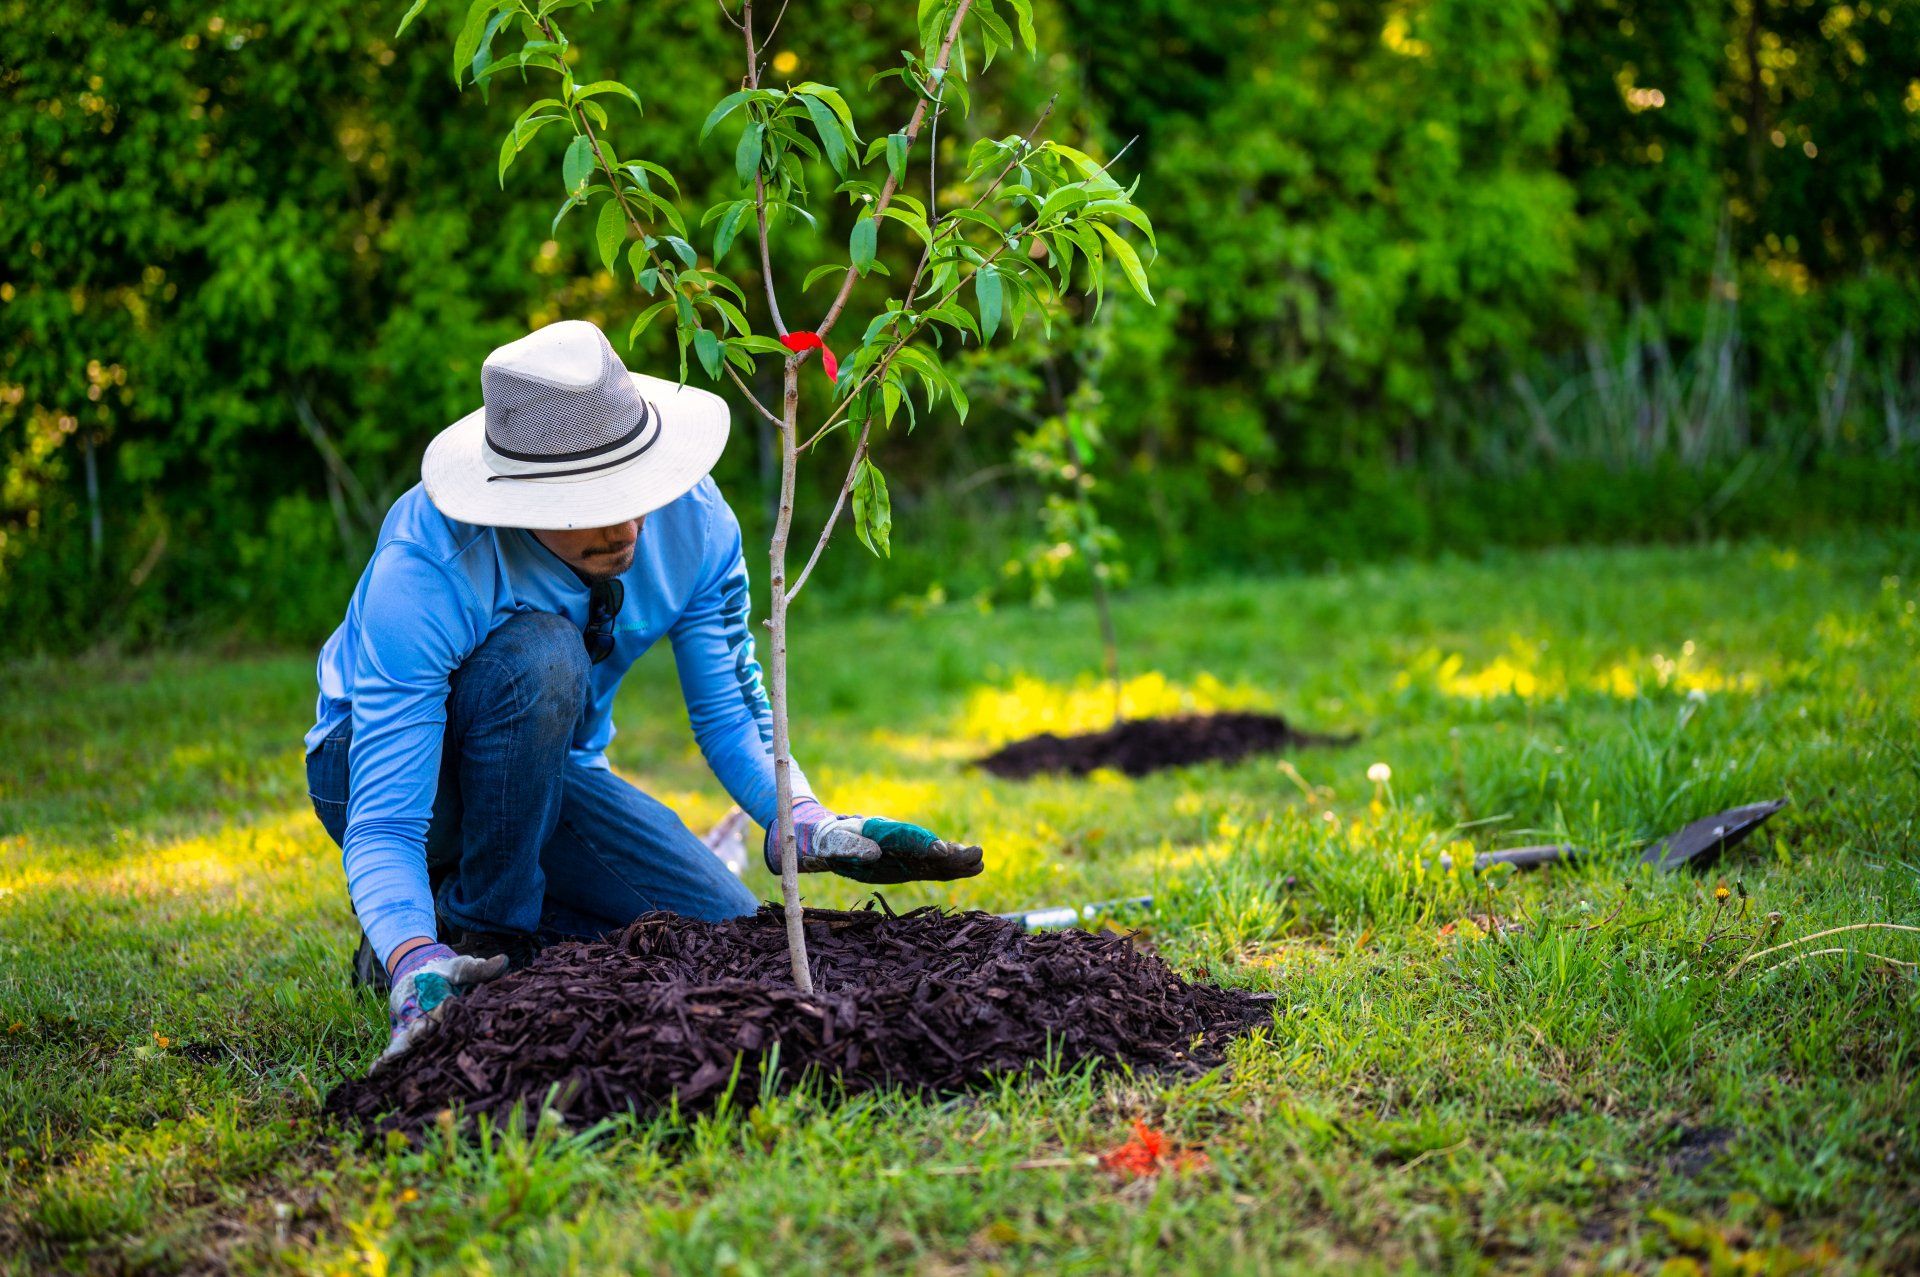
Planting a Tree: Steps and Equipment Rentals
Planting a tree can seem like a simple task, but doing it correctly is vital for the tree's growth and survival. Here are detailed steps for planting a tree:
Step 1: Choose the Right Tree
The first step in planting a tree is choosing the right species. Consider the local climate, soil conditions, and available space in your yard. Additionally, think about the purpose of the tree: are you planting it for shade, privacy, fruit production, or purely for aesthetic appeal?
Step 2: Select the Planting Site
Next, choose a suitable location for your tree. Make sure there's ample room for the tree to grow without interfering with buildings, power lines, or other structures. The site should get enough sunlight and have good soil drainage.
Step 3: Dig the Hole
Once you've identified the planting site, it's time to dig the hole. The hole should be twice as wide and just as deep as the root ball of your tree. You can rent an auger from Easy Rent All to make this task easier.
Step 4: Prepare the Tree
Remove the tree from its container gently. If the roots are tightly packed or circling the root ball, gently loosen them with your fingers. This encourages them to spread out into the surrounding soil after planting.
Step 5: Place the Tree in the Hole
Place the tree in the center of the hole. The top of the root ball should be level with or slightly above the surrounding ground. This prevents water from pooling around the base of the trunk, which can cause rot.
Step 6: Backfill the Hole
Backfill the hole with the excavated soil, firming it gently around the base of the tree. Avoid piling soil against the trunk of the tree.
Step 7: Water Thoroughly
After planting, water the tree thoroughly to settle the soil and eliminate air pockets. Continue watering regularly during the first few weeks after planting, then reduce watering as the tree establishes itself.
Step 8: Apply Mulch
Apply a layer of mulch around the base of the tree, keeping it a few inches away from the trunk. Mulch helps conserve soil moisture and suppress weeds.
Step 9: Ongoing Care
Monitor the tree over the coming weeks and months, watering as necessary and checking for signs of pests or disease. Prune any broken or diseased branches, but avoid heavy pruning in the first year after planting.
Remember, safety is paramount when undertaking any landscaping project. Always check for underground utilities before digging, and use the correct lifting technique when handling heavy trees.
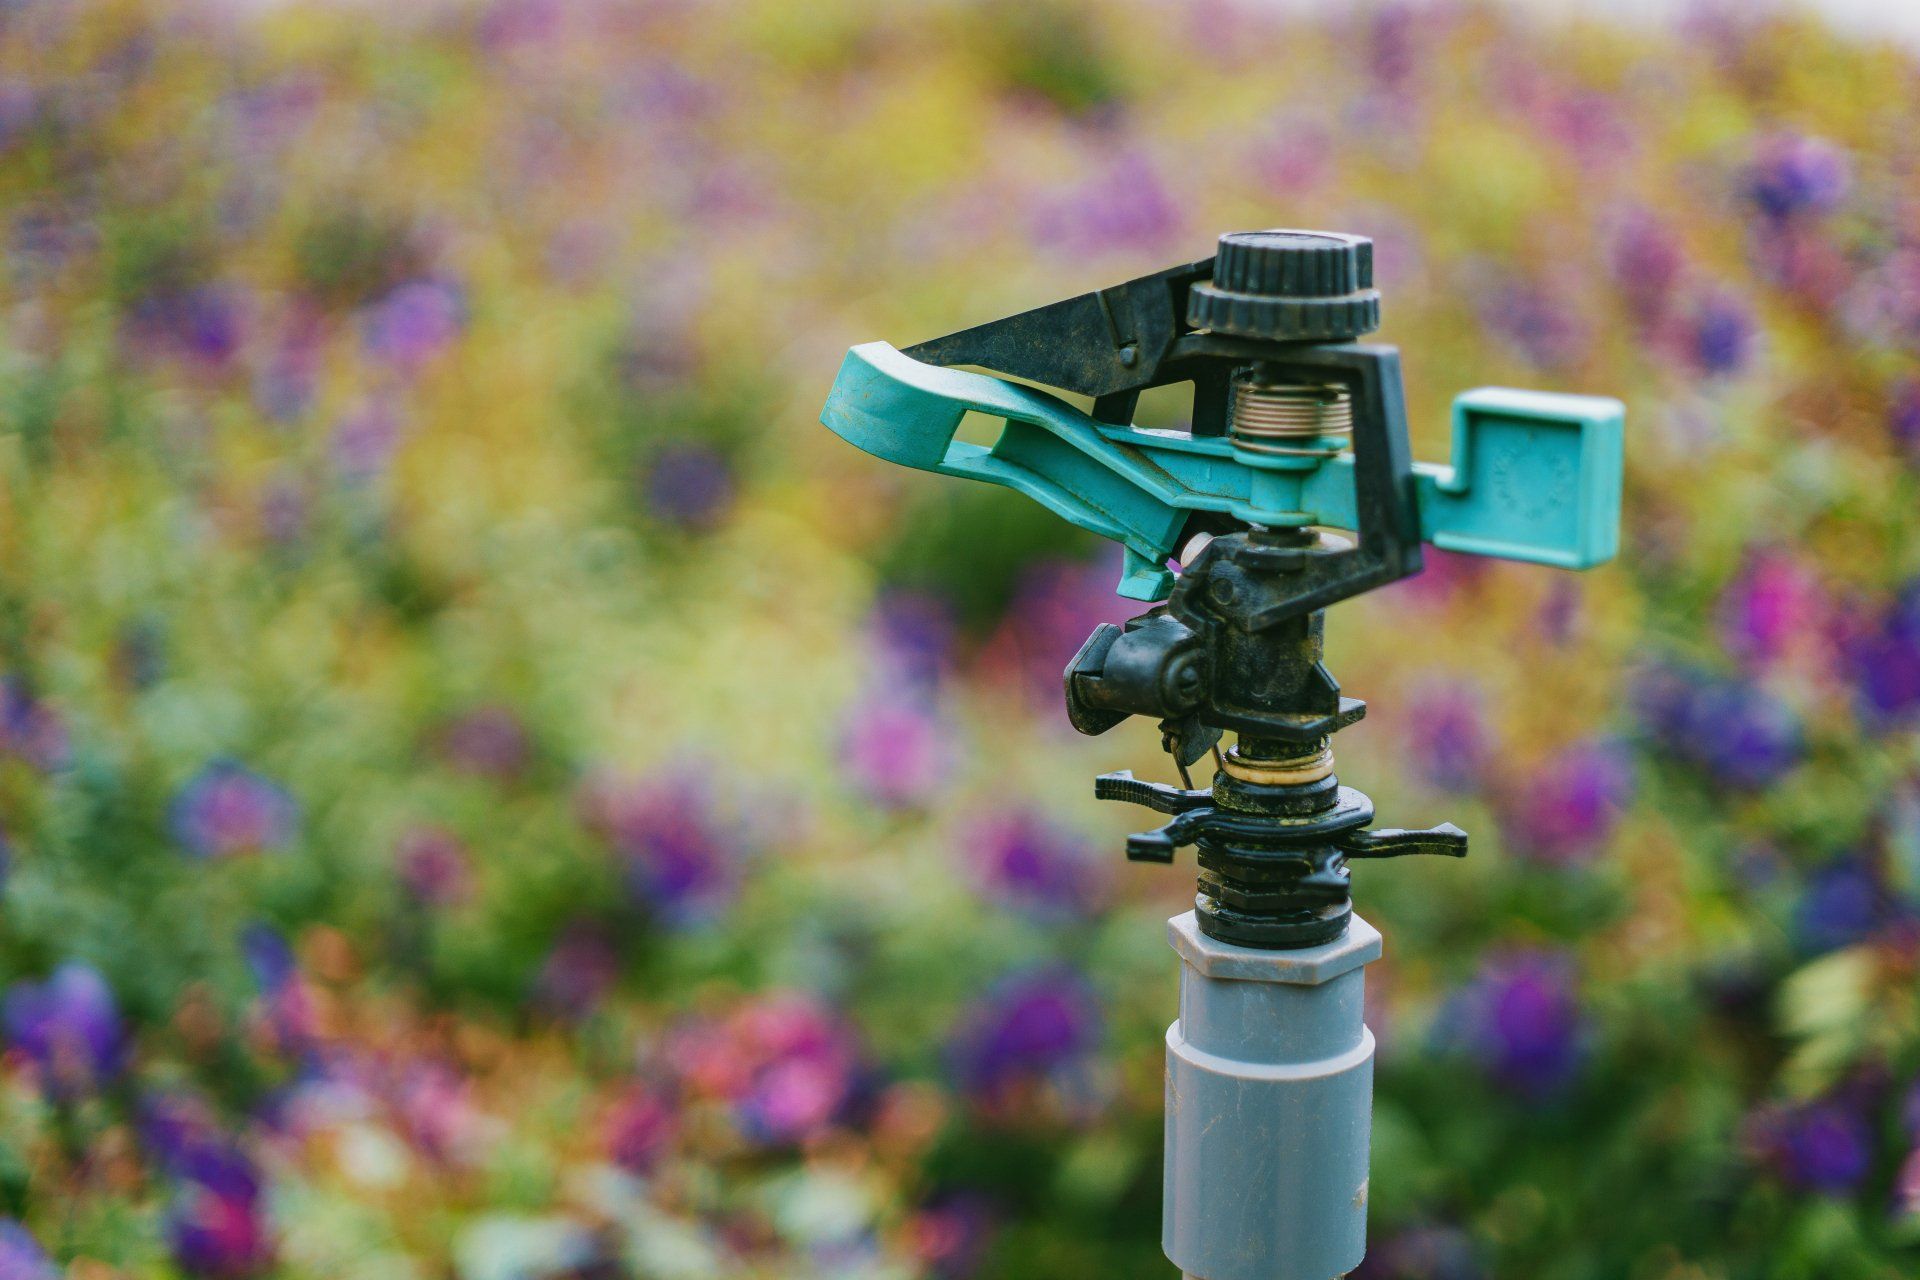
Installing a Sprinkler System: Steps and Equipment Rentals
Installing a sprinkler system can help maintain your lawn's health and beauty by providing consistent and adequate watering. Here's a detailed guide:
Step 1: Plan Your System
First, sketch out your yard, including any structures, landscaping features, and vegetation. Use this sketch to plan the layout of your sprinkler system. Consider factors like the types of sprinklers needed (pop-up spray heads for lawns, rotors for larger areas, drip lines for beds), their placement, and the number of zones required.
Step 2: Gather Materials
Once you have your plan, gather all the necessary materials. This will usually include PVC pipe or polyethylene tubing, sprinkler heads, valves, a backflow preventer, a controller, and various fittings and connectors.
Step 3: Dig Trenches
Next, dig trenches for your water lines. The depth will depend on local code requirements but is typically between 6 and 12 inches. Renting a trencher from Easy Rent All can make this job easier.
Step 4: Lay the Water Lines
Lay your PVC pipe or polyethylene tubing in the trenches, following the layout in your plan. Avoid sharp turns that could restrict water flow.
Step 5: Install the Sprinkler Heads
At each marked sprinkler head location, install a riser connected to the water line. Attach the sprinkler head to the riser, making sure it's at the correct height - the top of the head should be level with the ground.
Step 6: Install the Valves
Install a valve for each zone at the location specified in your plan. Each valve controls the water flow to a group of sprinkler heads.
Step 7: Install the Backflow Preventer
Install a backflow preventer to prevent contaminated water from flowing back into your home's water supply. This is typically installed after the water meter and before the valves.
Step 8: Install the Controller
The controller is the brain of your sprinkler system, turning the valves on and off according to a programmed schedule. Install the controller in a location where it can connect to both your home's electrical system and the wires running to each valve.
Step 9: Test and Adjust
Finally, turn on the water and test each zone separately. Adjust the spray pattern and distance of each sprinkler head as needed for optimal coverage.
Remember, safety is paramount when installing a sprinkler system. Always call your local utility companies before you start digging to ensure you don't hit any underground lines. And always follow local codes and regulations when installing your system.
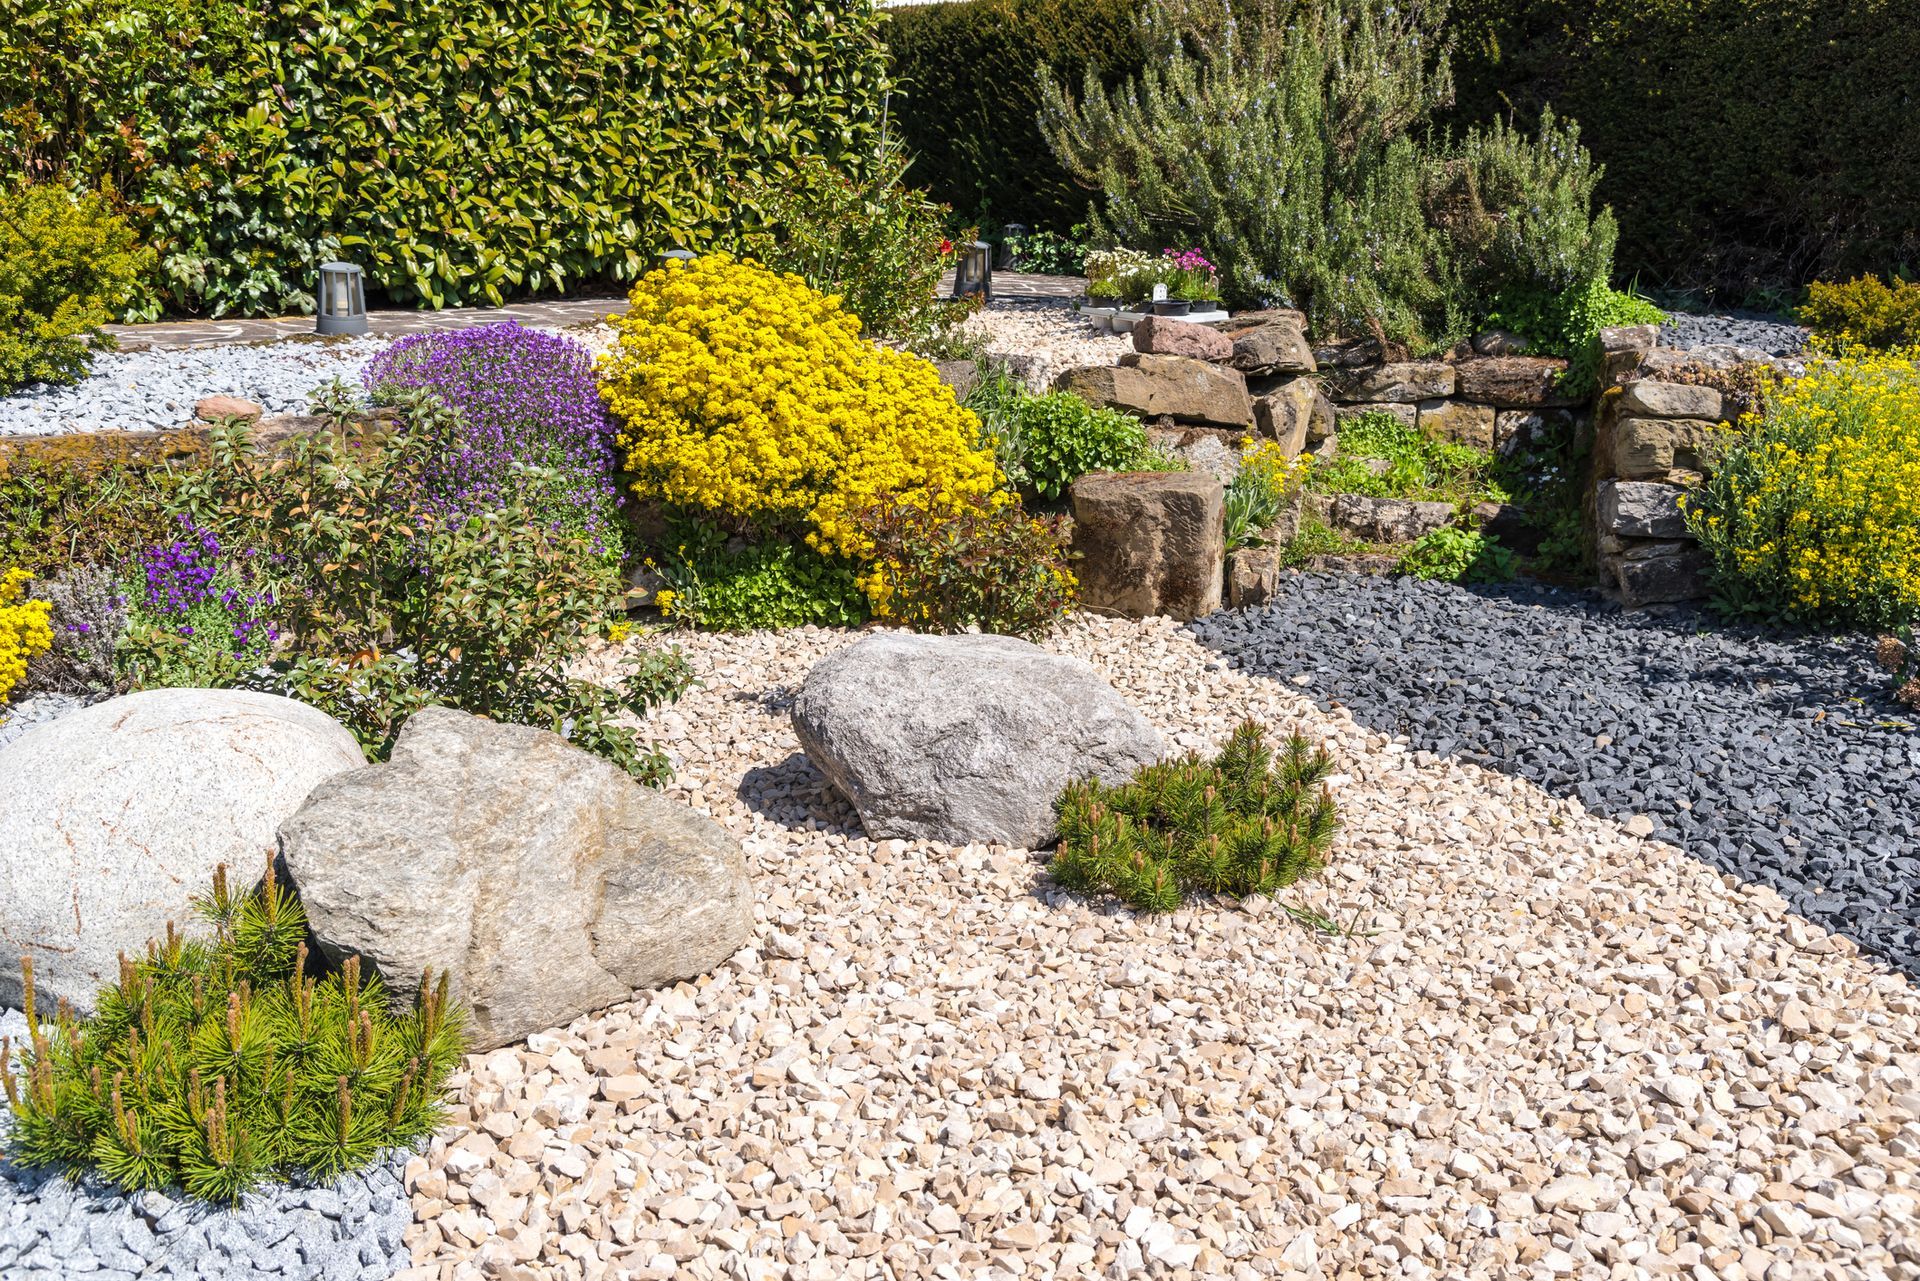
Building a Rock Garden: Steps and Equipment Rentals
Creating a rock garden is a wonderful way to add a unique, low-maintenance landscape feature to your yard. Here's a detailed guide on how to create a rock garden, including the equipment you can rent from Easy Rent All.
Step 1: Plan Your Rock Garden
Start by deciding where you want your rock garden. It could be a flat area or a slope. Consider the size, shape, and the types of plants you want to include. Sketch out a rough design of your rock garden.
Step 2: Clear the Area
Clear the chosen area of any existing grass or vegetation. For larger areas, consider renting a sod cutter from Easy Rent All.
Step 3: Lay Out the Rocks
Lay out the large rocks according to your design. If you're dealing with heavier rocks, consider renting an equipment like a mini excavator or a skid steer loader from Easy Rent All.
Step 4: Prepare the Soil
Add a layer of topsoil mixed with compost to the cleared area. If you're planning to plant alpine plants or succulents, which prefer well-drained soil, consider adding some sand to the mix.
Step 5: Plant Your Plants
Plant your chosen plants among the rocks, following your design. Water them thoroughly.
Step 6: Add More Rocks and Gravel
Once your plants are in place, add smaller rocks and gravel to complete your rock garden. These can help to suppress weeds and improve drainage.
Remember, safety is crucial when handling heavy rocks. Always use the correct lifting techniques, and consider using equipment to help with heavier items.
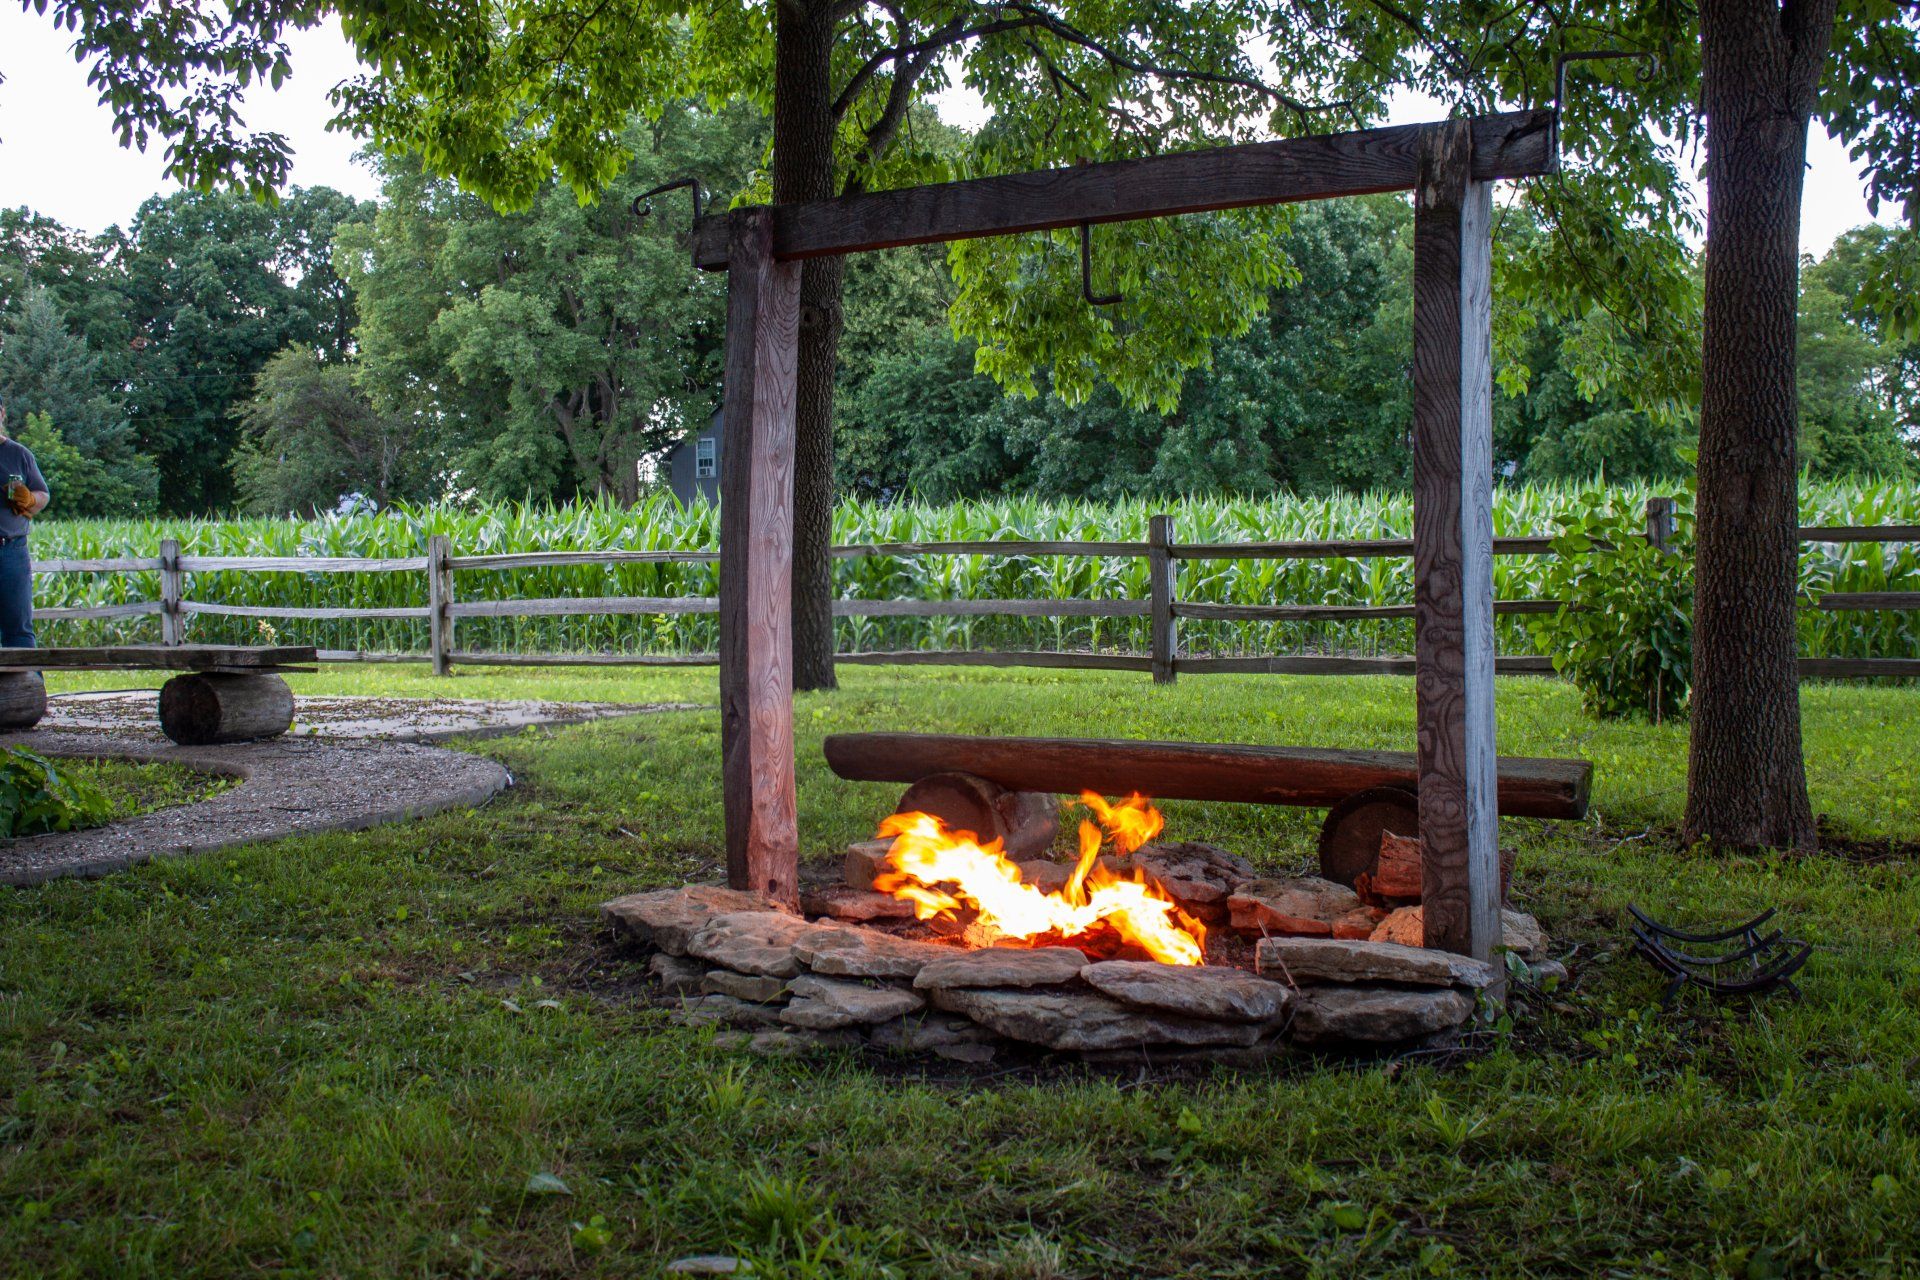
Building a Fire Pit: Steps and Equipment Rentals
Creating a fire pit in your backyard can be a fun project that adds a new dimension to your outdoor space. Here's a step-by-step guide.
Step 1: Choose the Location
Find a suitable location for your fire pit. It should be a safe distance from your house, trees, and any other flammable materials.
Step 2: Mark the Area
Mark the area where you want to build your fire pit. This can be done using a stake and string to create a circle or another shape of your choice.
Step 3: Dig the Pit
Once the area is marked, start digging. A sod cutter rental from Easy Rent All could be useful to make this job go faster.
Step 4: Lay the Foundation
Pour a layer of sand or gravel into the pit. This helps with drainage and provides a stable base for the bricks or stones.
Step 5: Arrange the Stones
Start laying your stones or bricks around the edge of the pit. Make sure they're flat so they can stack securely.
Step 6: Build the Fire Pit Wall
Continue stacking the stones or bricks, checking their stability as you go. The height of your fire pit wall will depend on your preference, but typically, it's about 1 foot tall.
Step 7: Final Touches
You can finish by adding a layer of fireproof mortar inside the pit for added safety and durability. Let it dry completely before using the fire pit.
Remember, safety is crucial when building and using a fire pit. Always check with local authorities for any restrictions or permits needed before you start building. Never leave a fire unattended and ensure it's fully extinguished when you're done.
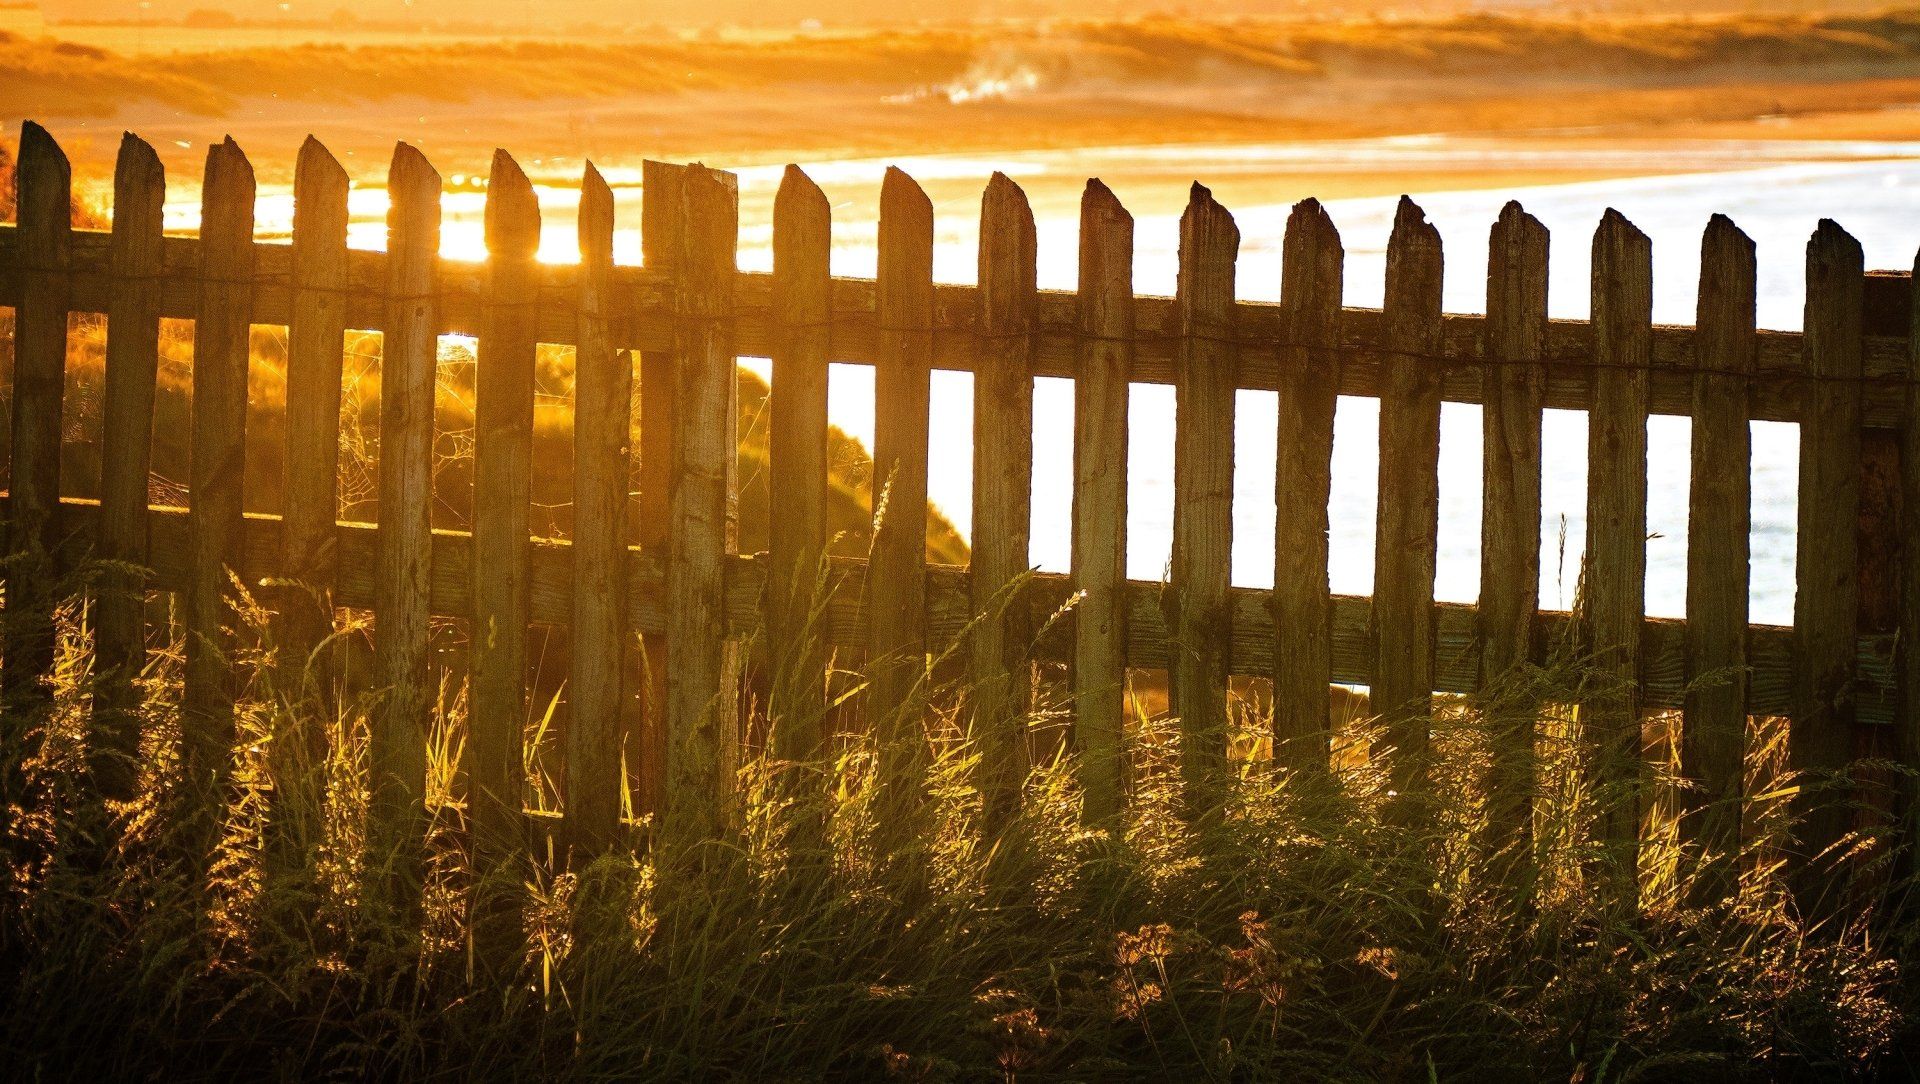
Installing a Fence: Steps and Equipment Rentals
Installing a fence can enhance your property's look, provide privacy, and increase security. Here are the steps to install a fence, including equipment rentals from Easy Rent All.
Step 1: Plan Your Fence
Decide where your fence will go. Consider property lines, utility lines, and local regulations. Sketch a layout of your fence, marking where posts will go.
Step 2: Gather Materials and Tools
You'll need fence panels, posts, post caps, concrete, and screws or nails. For tools, you'll need a post hole digger, shovel, level, power drill, and saw. You can rent all the power tools you need from Easy Rent All.
Step 3: Dig Post Holes
Use a post hole digger to dig holes for your fence posts. The holes should be deep enough that one-third of the total post length is underground.
Step 4: Install Posts
Place a post in each hole. Use a level to make sure it's straight. Then, fill the hole with concrete, following the manufacturer's instructions.
Step 5: Attach Fence Panels
Once the concrete has set, attach the fence panels to the posts. Use a level to ensure they're straight.
Step 6: Add Post Caps
Finally, add post caps to protect the tops of the posts from weather damage.
Remember, installing a fence can be a big project. If you're unsure about doing it yourself, consider hiring a professional.
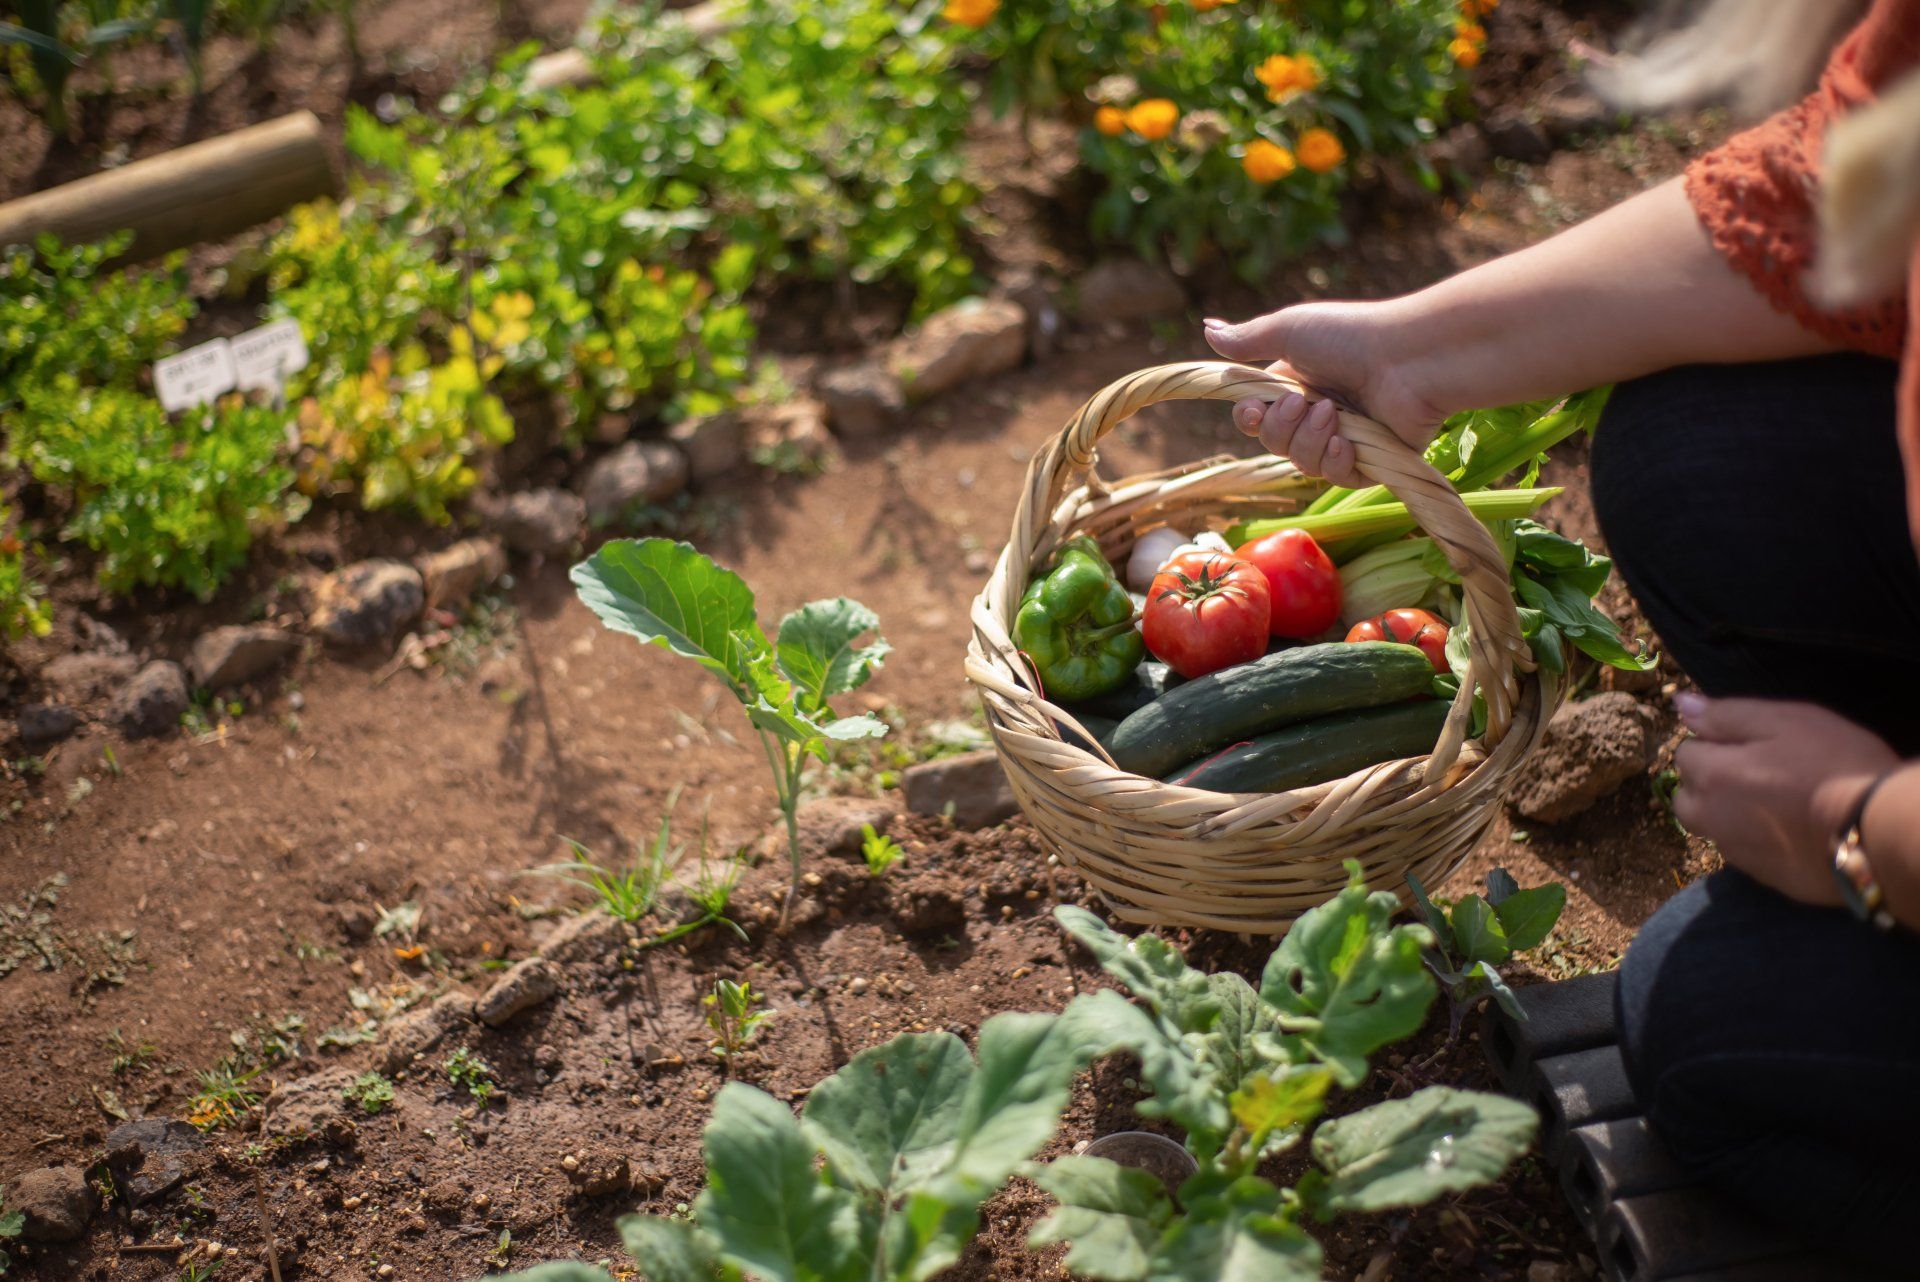
Creating a Vegetable Garden: Steps and Equipment Rentals
Starting a vegetable garden can be a rewarding endeavor, providing fresh produce for your kitchen while enhancing the beauty of your outdoor space. Here's a step-by-step guide based on the information found from various sources, including potential equipment rentals from Easy Rent All:
Step 1: Plan Your Garden
Decide what vegetables you want to grow and map out where they will go in your garden. Consider factors like sunlight exposure, soil quality, and each plant's spacing needs.
Step 2: Prepare the Site
Clear the chosen area of any existing grass or vegetation. A sod cutter, available for rent from Easy Rent All, can be used to make this job easier and more efficient.
Step 3: Improve the Soil
Most vegetables prefer well-drained, fertile soil. You may need to add compost or other organic matter to improve your soil's fertility and structure.
Step 4: Create Beds or Rows
Based on your garden plan, create beds or rows where your vegetables will be planted. Equipment like a tiller or a cultivator can be helpful for this task and can be rented from Easy Rent All.
Step 5: Plant Your Vegetables
Plant your chosen vegetables according to their specific planting instructions. This typically involves digging a hole at the correct depth, placing the plant or seed in the hole, and then covering it with soil.
Step 6: Care for Your Garden
Once your vegetables are planted, they'll need regular care. This includes watering, weeding, fertilizing, and monitoring for pests and diseases.
Remember, safety is crucial when working with garden tools and equipment. Always use the correct techniques, wear appropriate protective gear, and follow all equipment rental guidelines.